Here's me in the muslin:


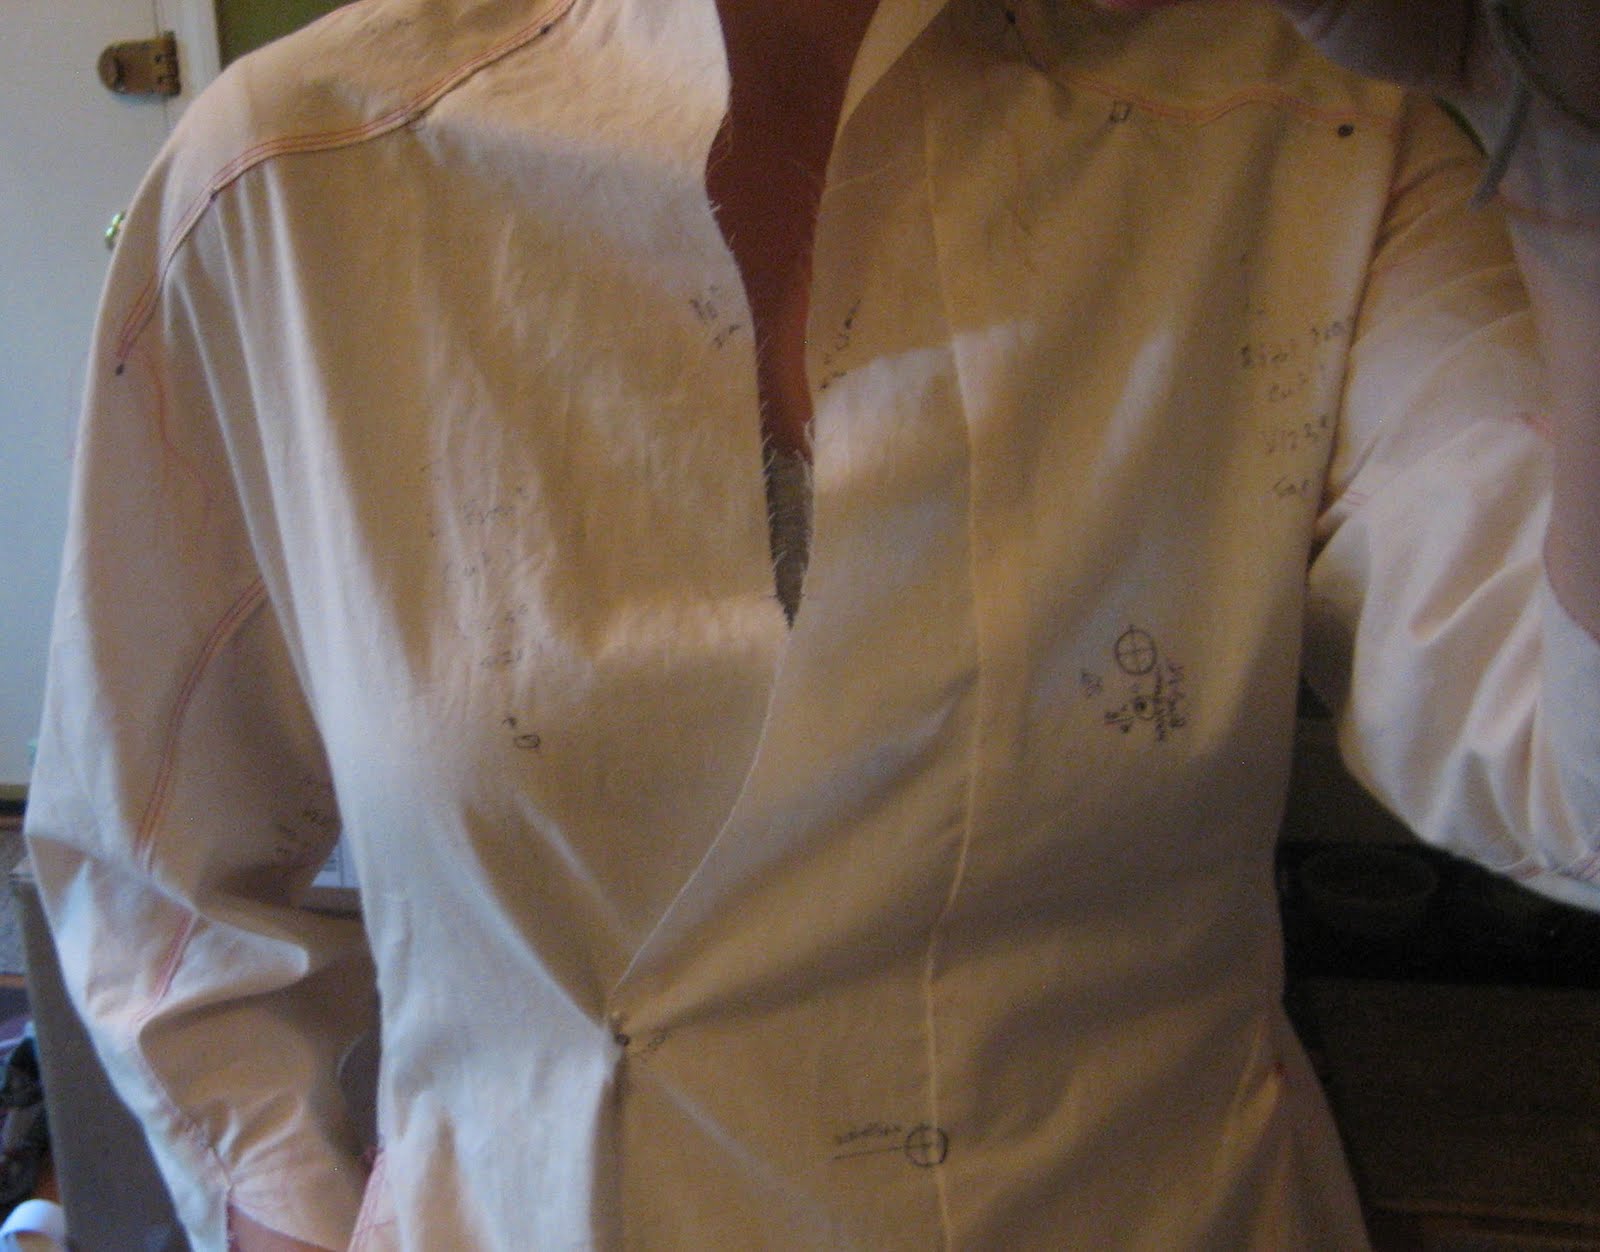
So, I don't feel the need to do a sway back adjustment, yay! I'll need to check how the hemline falls, but first I'm going to do the FBA. The only other problem is the extra fabric at the back neckline, but that looks like it will be pretty easy to fix, thankfully!
So, this FBA is pretty tricky, since the pattern pieces are a bitt different than usual. Here they are (from V1239, not to scale):


- Instead, I slashed along the grain from the bust point (mine was 5/8" lower than on the pattern sheet) to the bottom of the piece.
- Then, I slashed to create a pivot point at the match point on the front center edge of the piece.
- Finally, I slashed to a pivot point at the end of the upper dart. The second (lower) dart is narrower so there wasn't as much room to pivot there.


Then, I created a pivot point at the waistline near the front center seam so that I could taper the width added at the bust point back to zero at the waistline.

Finally, I taped it all up and this is what I got. For the other pieces, I will repeat the changes in 2 and 11, and then I'll use 1 and 11 and 2 and 11 to create the facing pattern pieces. In all, it's a relatively complicated full bust adjustment. But, I don't sew my own clothes to get the same fitting problems as ready-to-wear!
Nonetheless, I don't know if I'll like the results or not...if I don't I might just add that bust dart after all. Stay tuned!

No comments:
Post a Comment